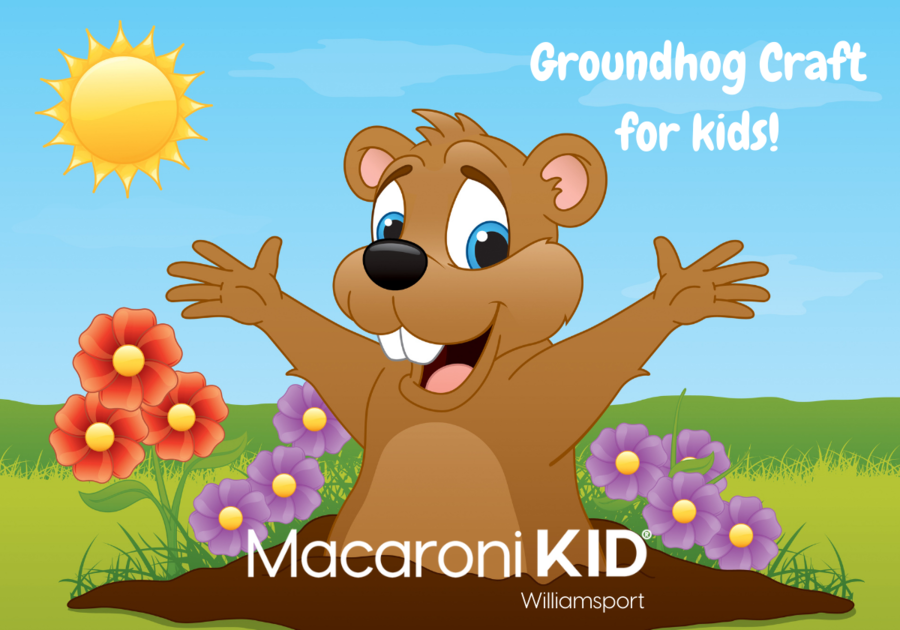
I love Groundhog Day! It is always fun to watch Phil make his prediction. Learn how to make your very own groundhog to help celebrate Phil and his day!
Here's how we did it:
Supplies
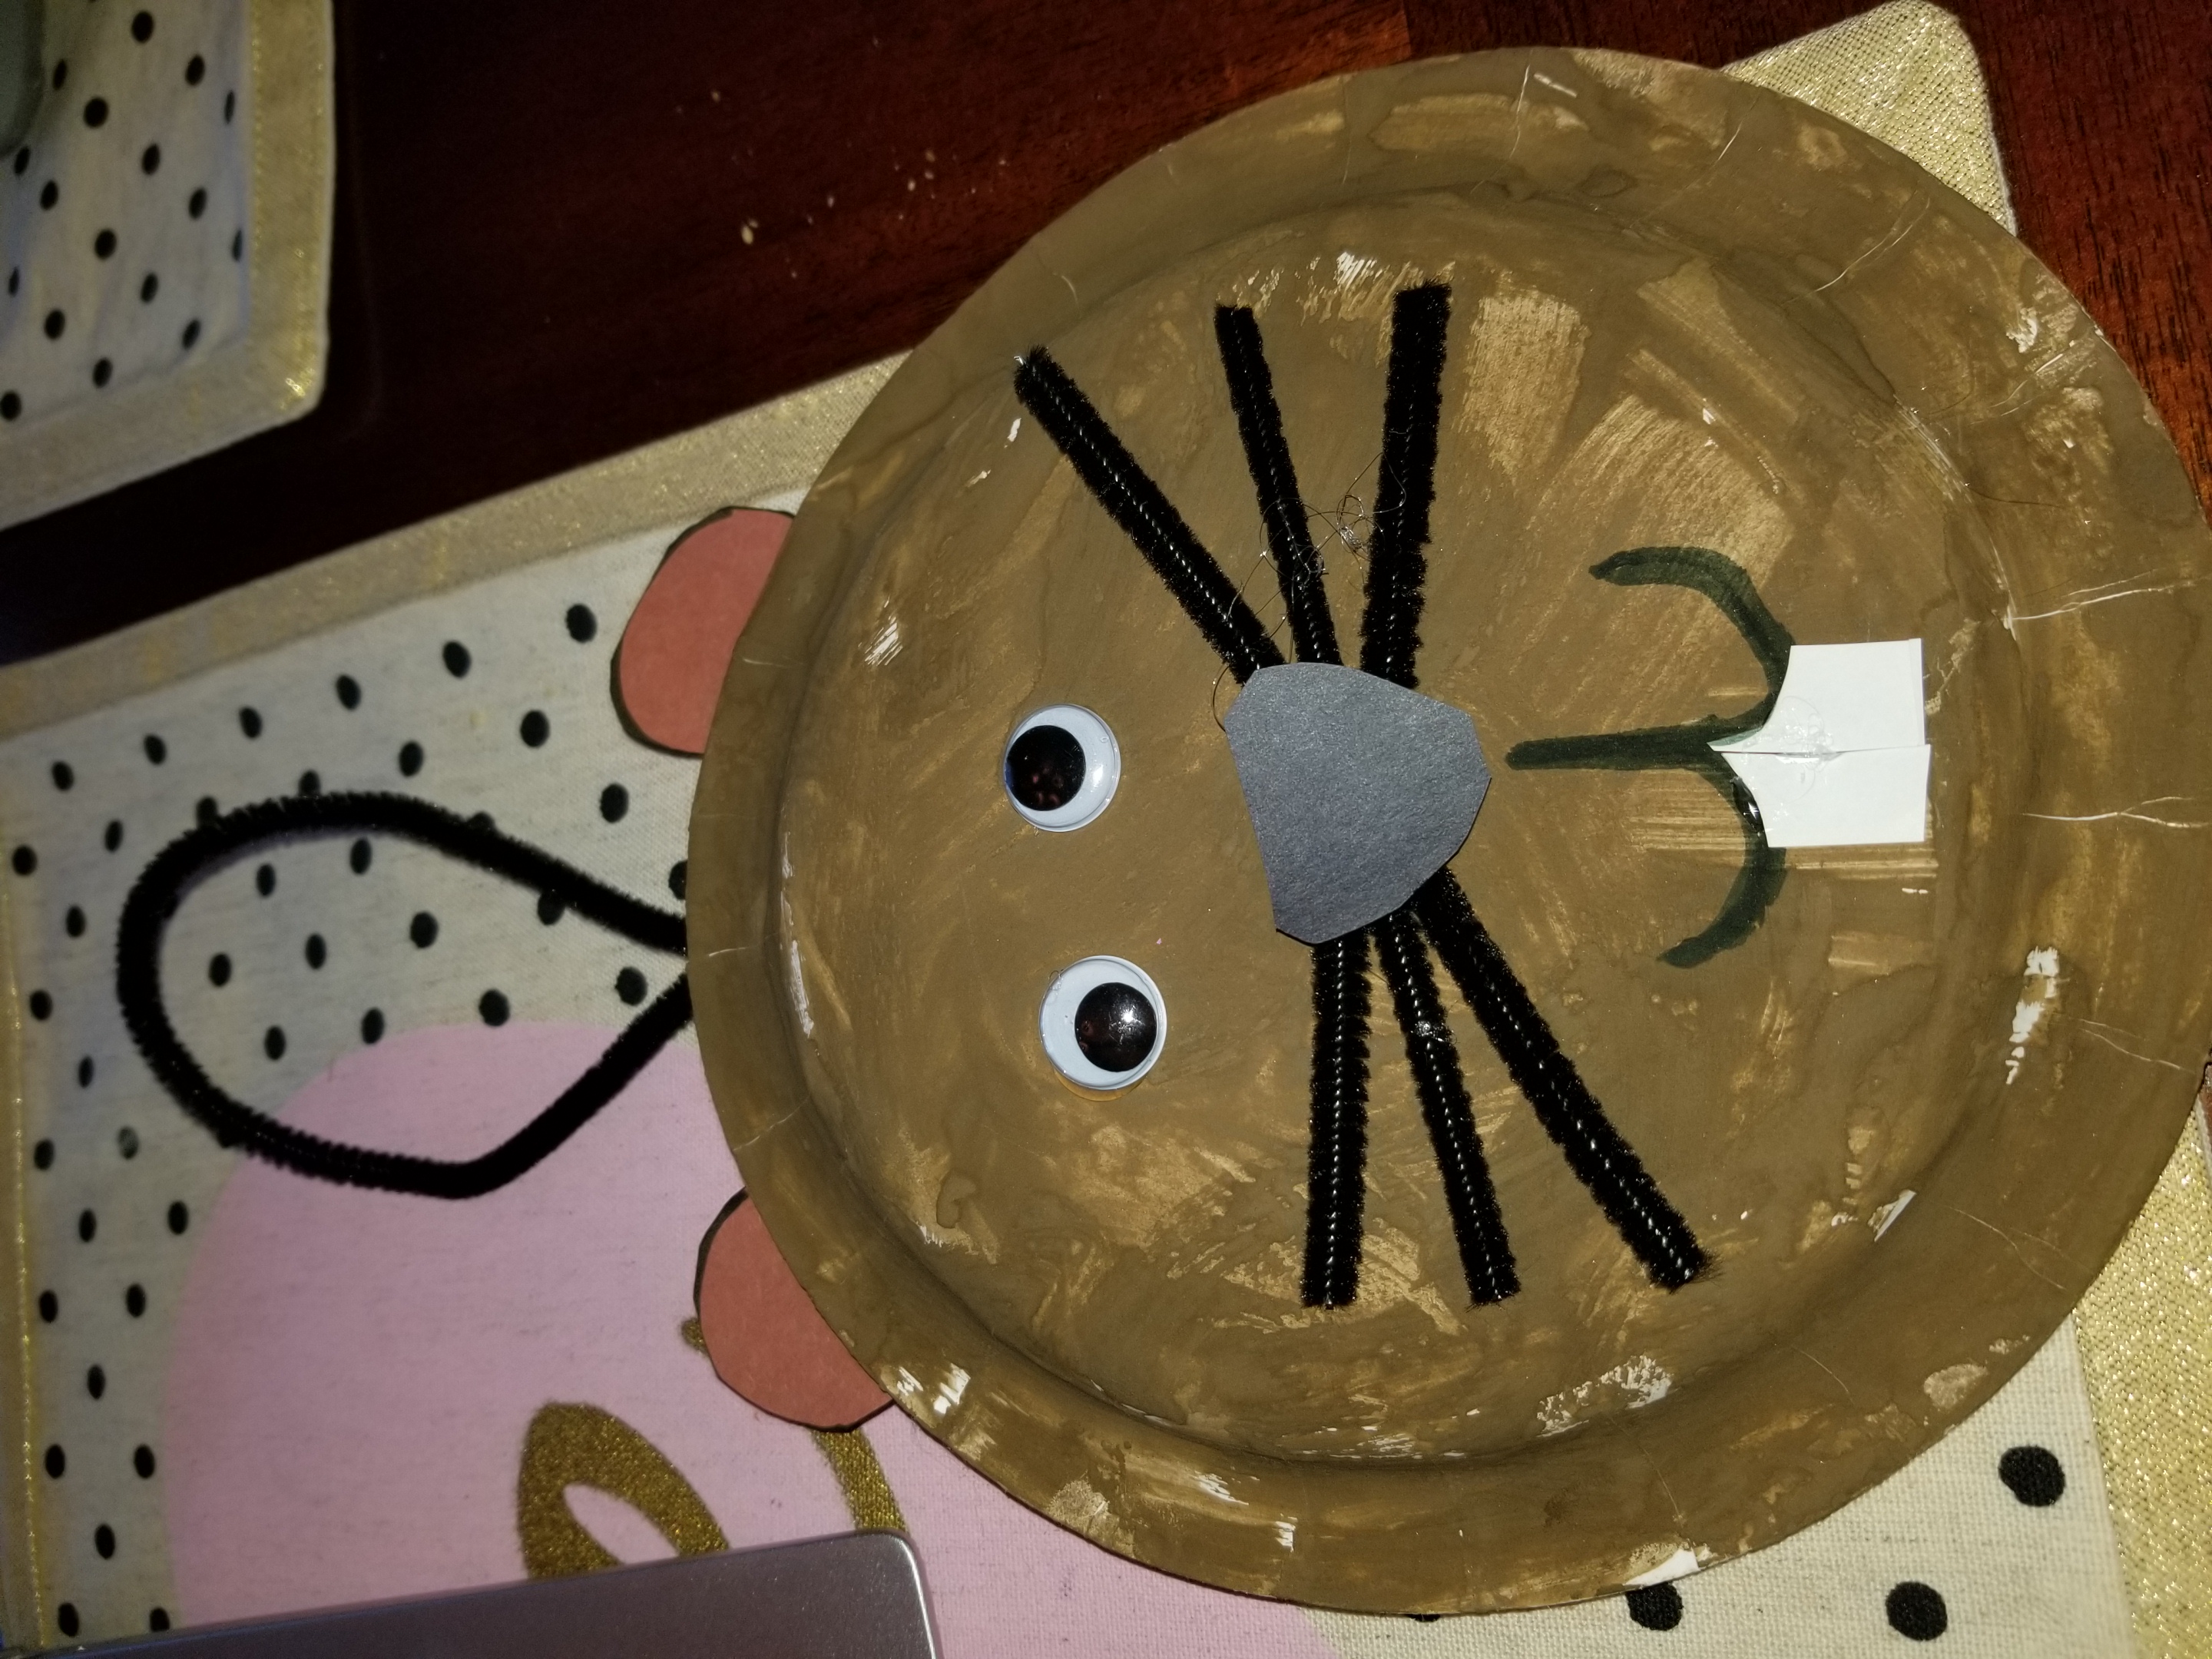
- 1 paper plate per child (I used a small plate)
- 2 Wiggle Eyes per child (or make out of construction paper)
- 3 Black Pipe Cleaners per child, cut 4-5 inches long
- brown paint
- Scissors
- Brown, black and white construction paper
- Paint and a paintbrush
- Hot glue gun, glue or glue stick
- String (pipe cleaner will work)
- Tape (optional)
- Hole punch (optional)
Instructions
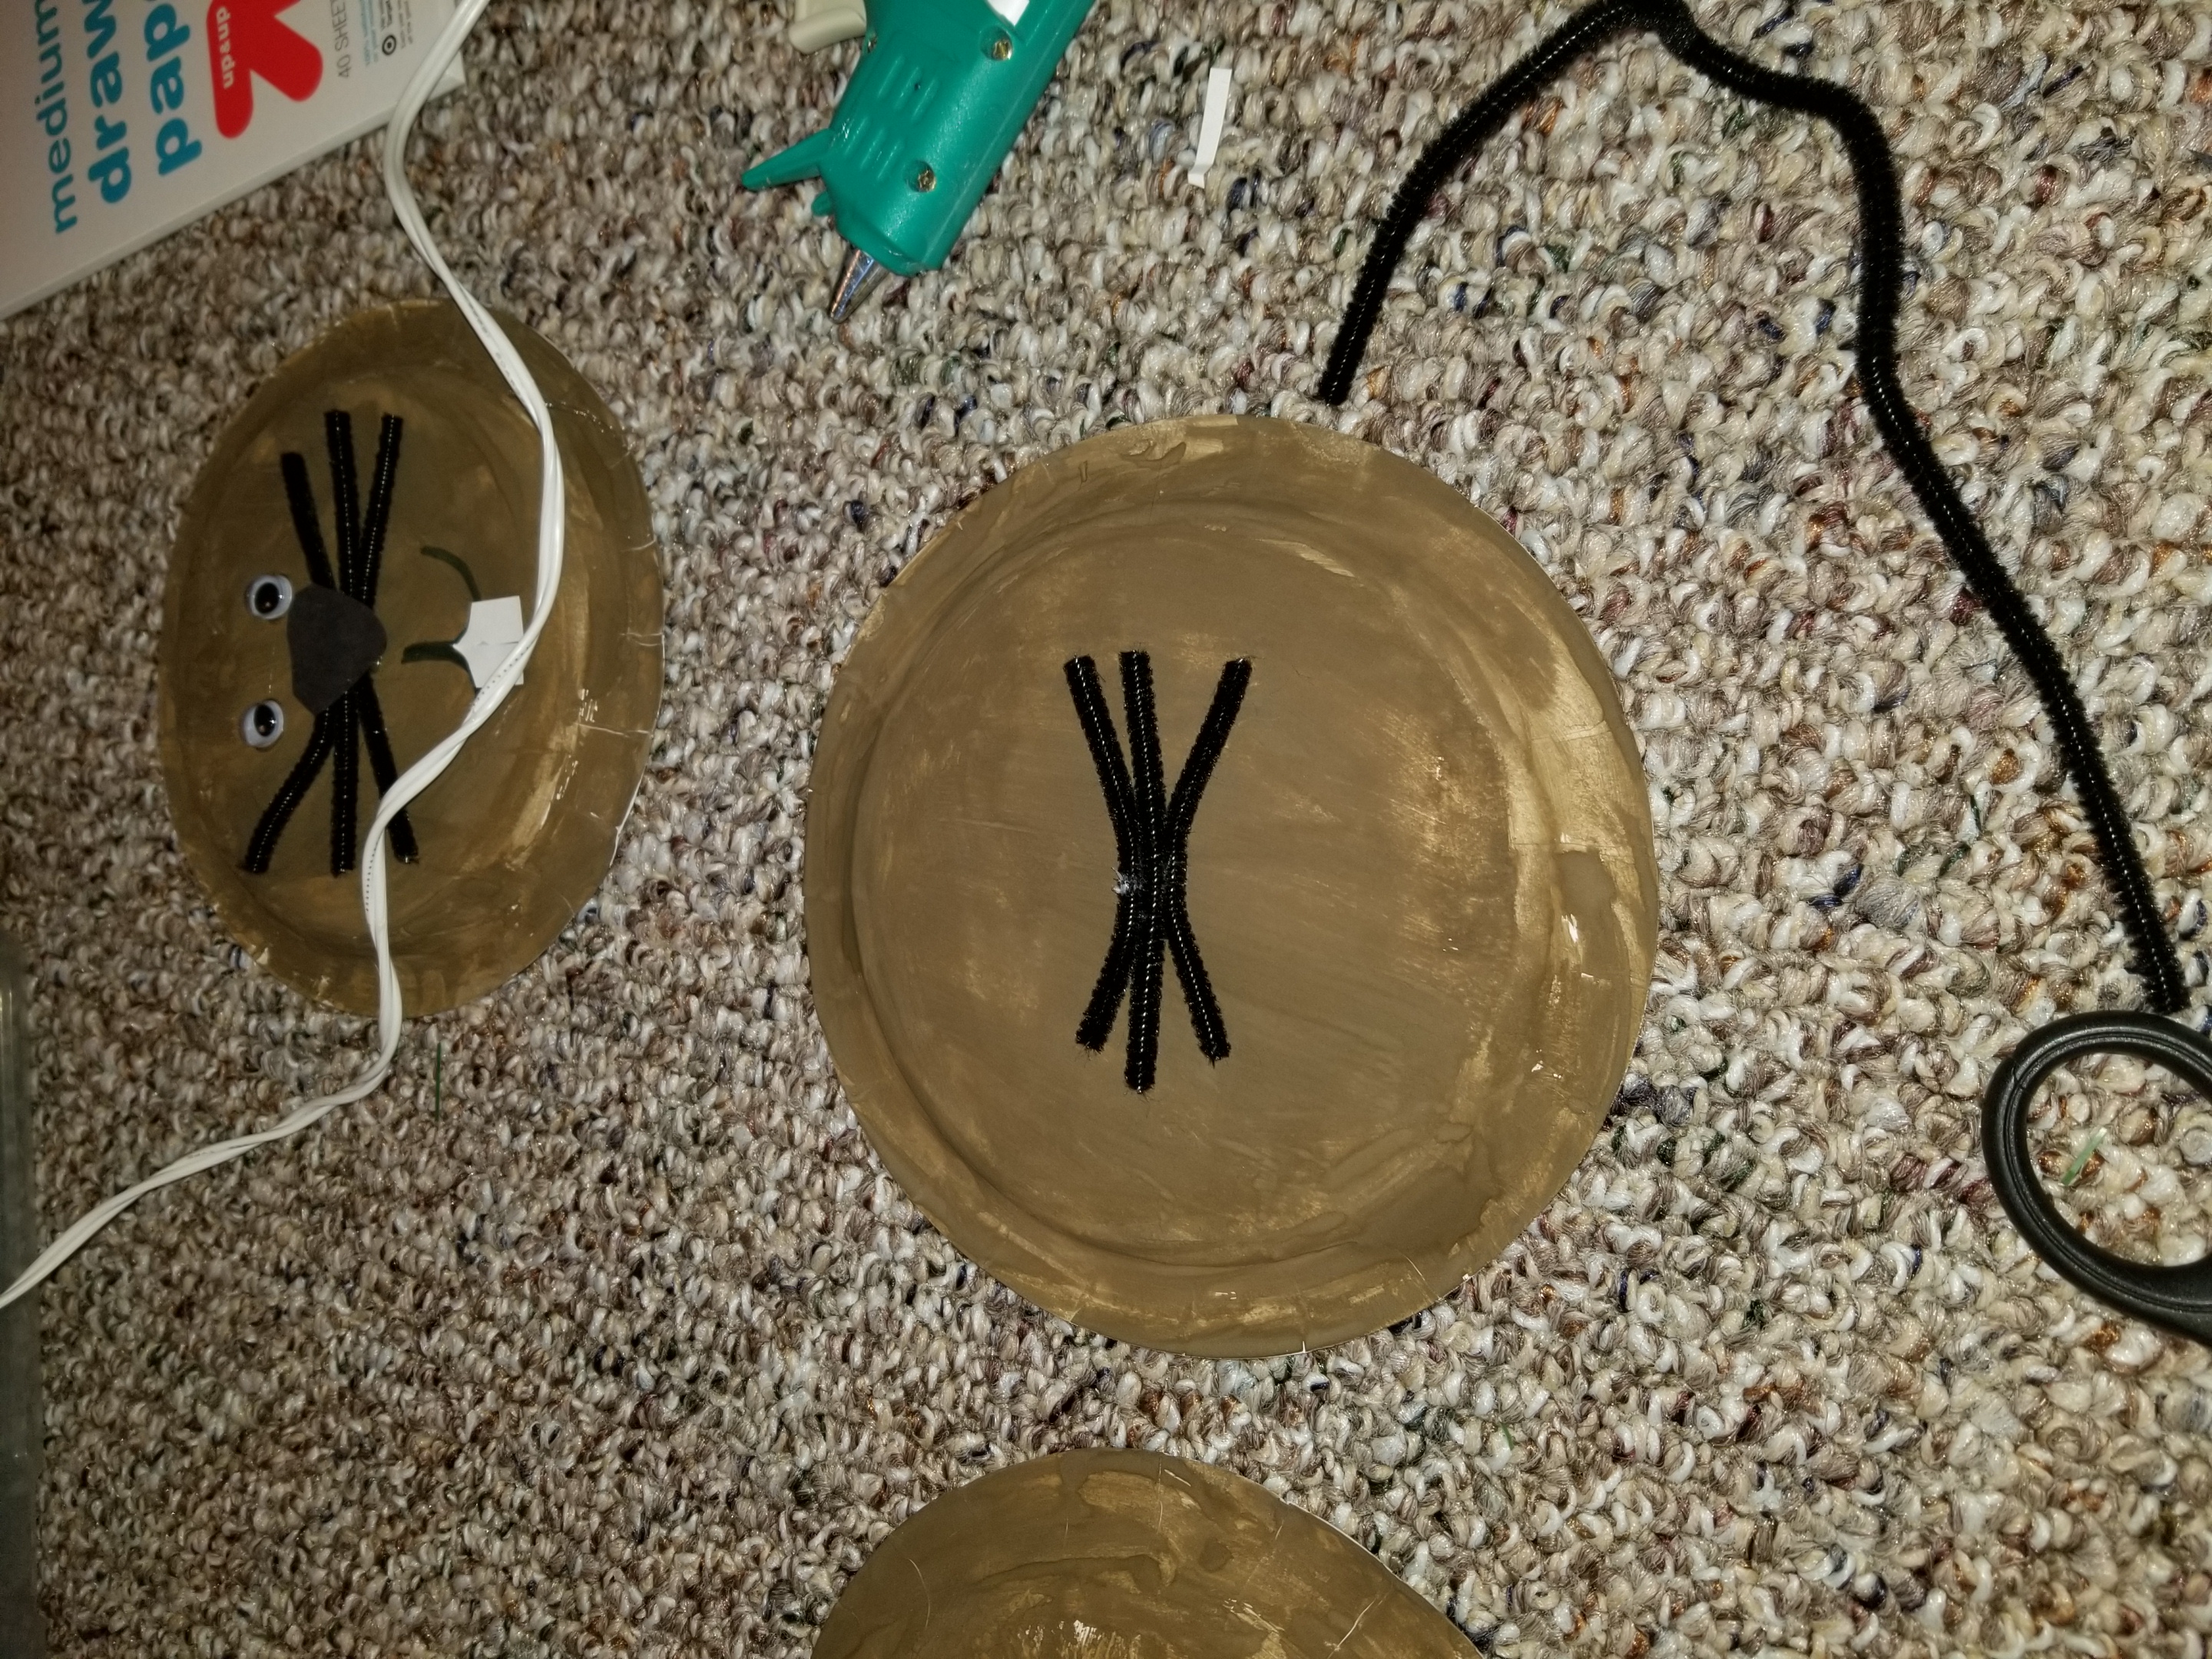
1. Put your paper plate face down (flipped so bottom is up) and paint with brown paint or use a brown crayon or marker. Let dry.
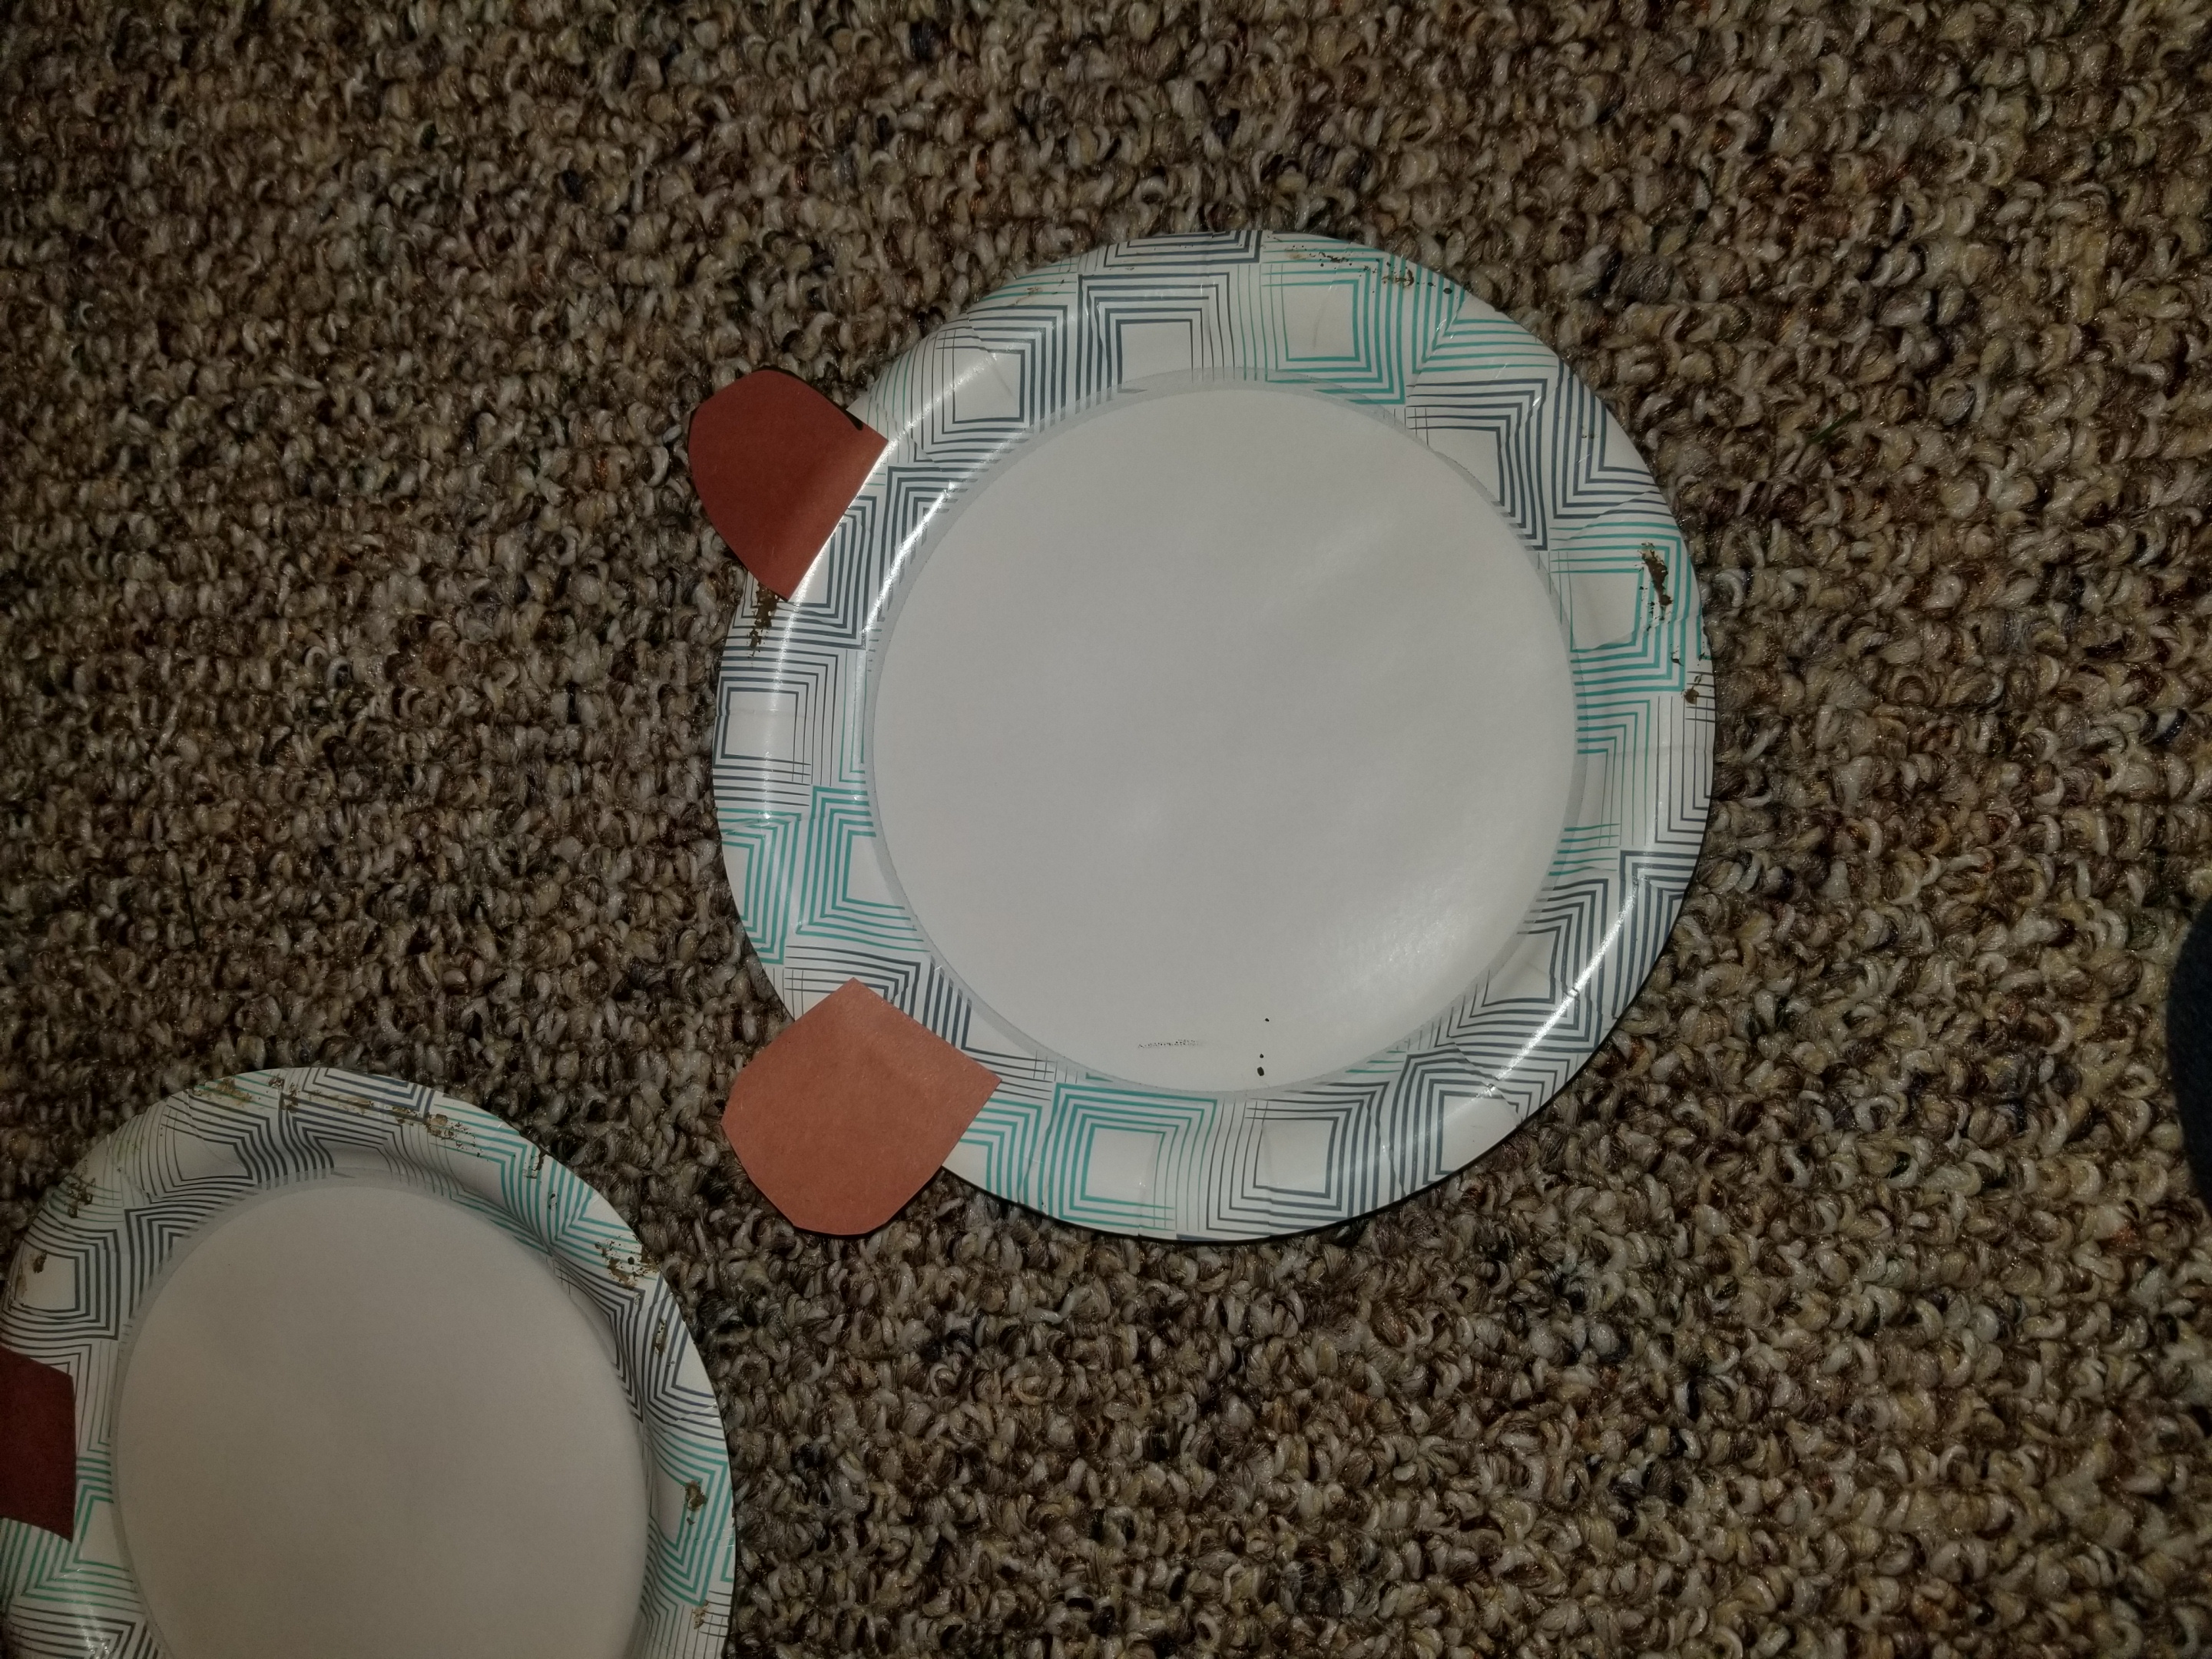
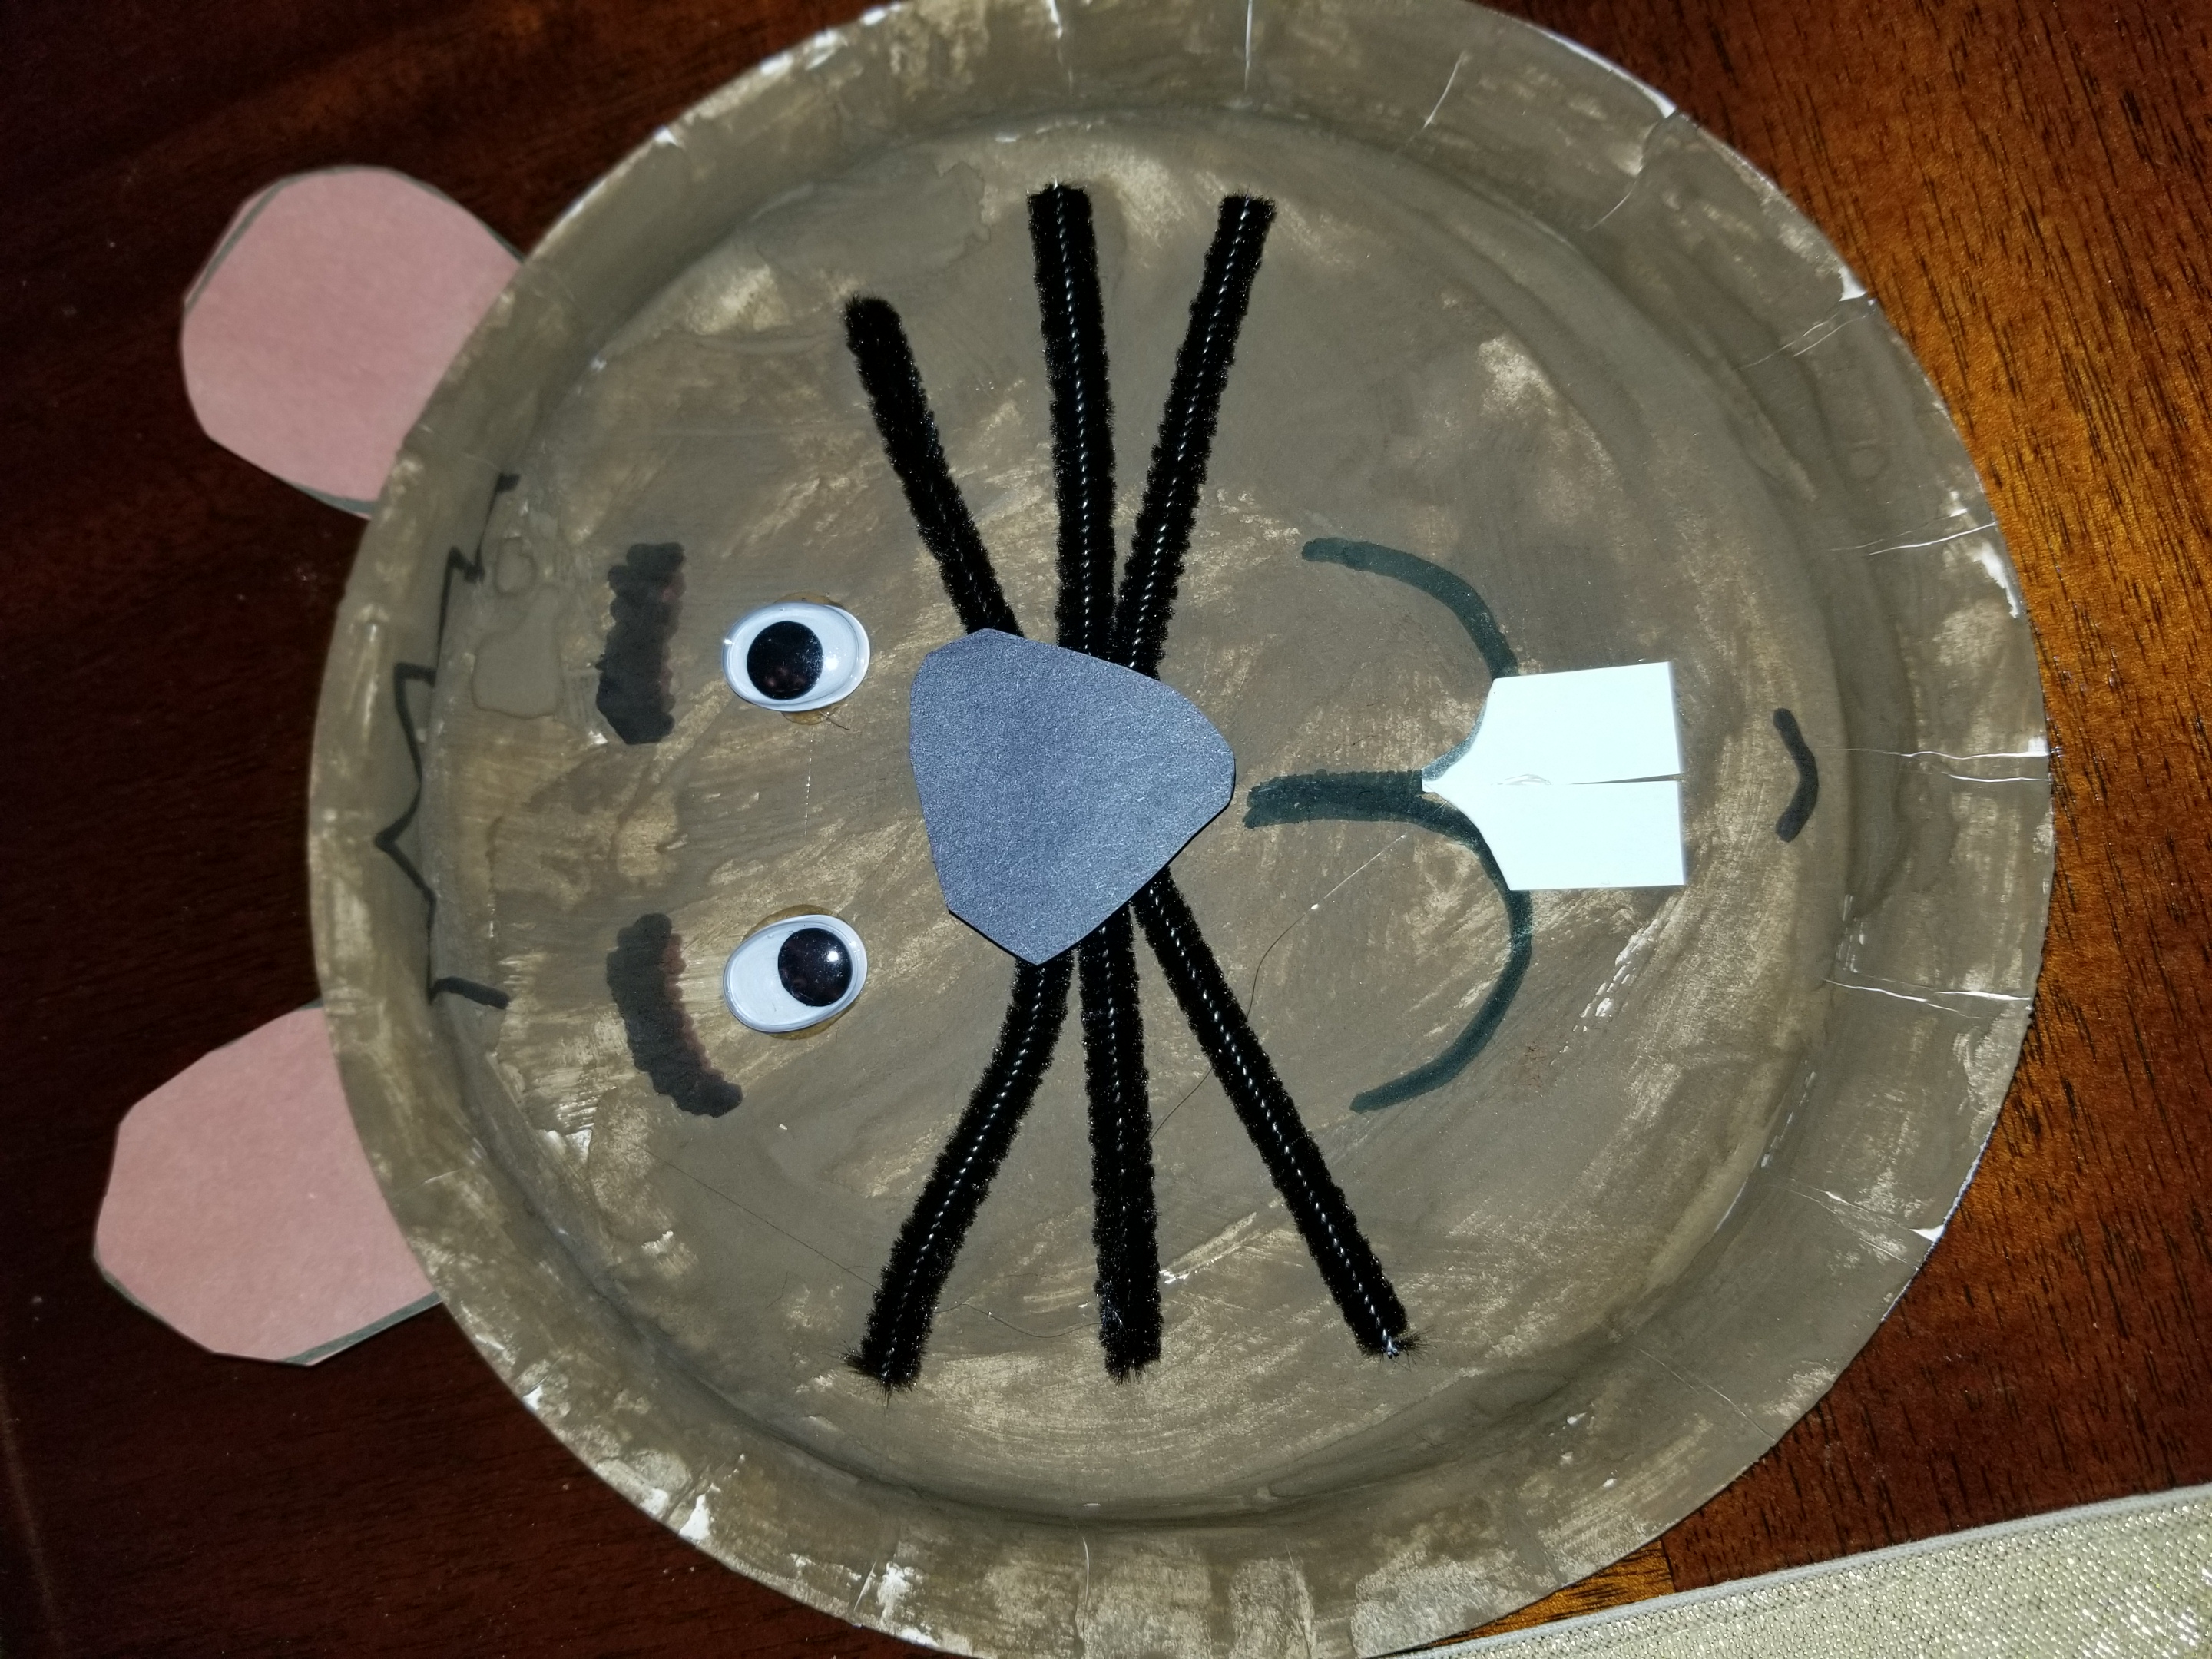
2. Draw two ears on the brown construction paper and cut out. Then attach the ears to the backside (nonpainted side) of the plate using glue.
 |
3. Glue on the pipe cleaners to be the whiskers. Hot glue gun works best, but any glue will work. It will just need longer to set up.
4. Add the Wiggle Eyes and black nose to the front of the plate to start making the groundhog's face. You can also draw the eyes if you don't have Wiggle Eyes. Once nose is on, draw his/her mouth.
 |
5. Cut out two teeth shapes (rectangle) to be the groundhog's teeth and glue under the mouth. Or use a white crayon or paint to make the teeth.
6. Use a black permanent or washable marker to add details, like hair, eyebrows, and dimples!
 |
7. Use string or a pipe cleaner to make a loop so you can display your groundhog. Glue to back side of plate. You can also punch a hole and attach the string or pipe cleaner.
 |
Click to subscribe for more fun crafts and articles: Macaroni Kid Williamsport, PA